Newsletter?
We have one. Sign up here.
Every entrepreneur needs a website in today’s digital age, whether you’re a service- or product-based business. One of the best ways to connect with customers or readers is to start a blog. Our friends at Bluehost are going to walk us through the steps of hosting and building a blog on a WordPress website!
Bluehost is the #1 recommended web hosting by WordPress.org. Every account features 1-click WordPress installation. Powering over 2 million websites worldwide, these guys are one of the most popular and affordable options. Whether you are an experienced or a new blogger, Bluehost will accommodate.
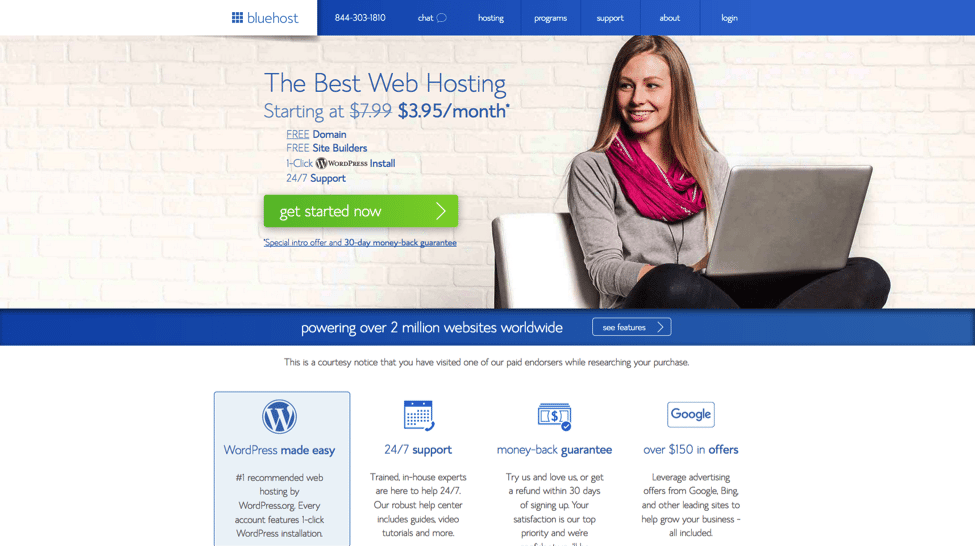
Click the “get started now” button (see above!) Select a hosting plan that fits your needs. (Those who are just starting out can go with the basic plan but if you are really serious about this and want more resources and power go with their Prime or Pro plan.) Keep in mind, you can always upgrade your plan as you grow.
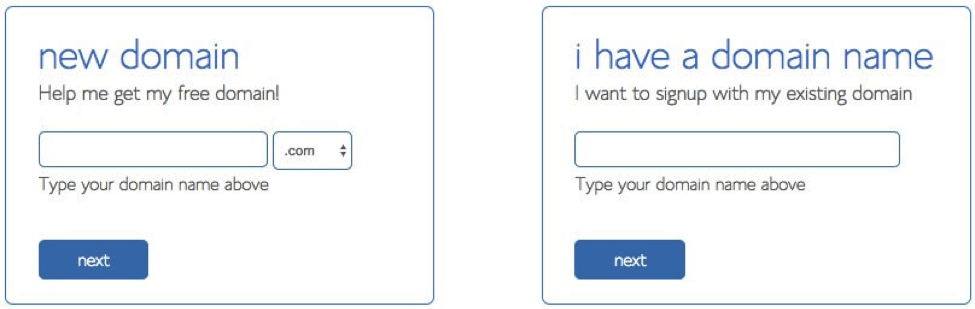
Type your domain name with this nifty Domain Name below. Don’t spend a ton of time on this step, you can always change the domain name later. If you already have a domain name, type it in the “I have a domain name” step. Bluehost is generous enough to throw in a FREE domain name for every new hosting account created.
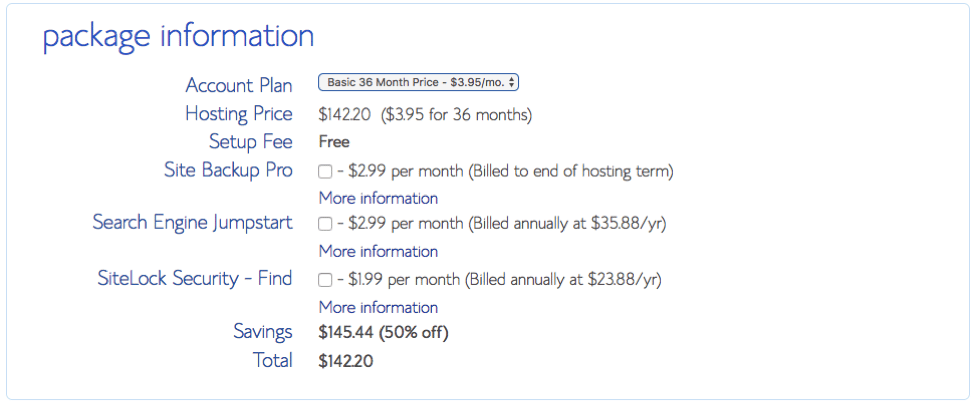
Review the package information below and decide what term/add-ons are desired. The biggest bang for your buck is the 60-month term, but you can choose 36 months, 24 months or 12 months. *Note, Bluehost will charge you upfront for the entire term.
Then, insert your payment information and accept the terms. Once you’ve done that, your Bluehost account will have been created. Bluehost will send you a welcome email confirming account and FTP information. Then you can create your password.
Make sure to review the requirements for creating the password. If you need help, you can always click the “Suggest Password” option. Regardless, Bluehost recommends writing it down just to be safe.
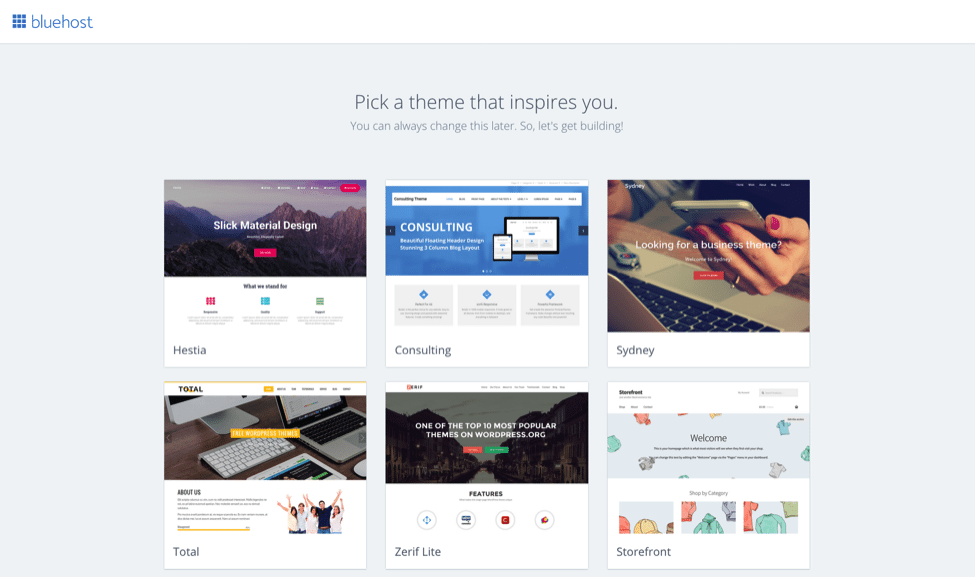
Thanks to Bluehost, after your hosting account has been created, WordPress will automatically install. Start off by picking a theme; these are all free themes from WordPress.org. You can always update your theme later.
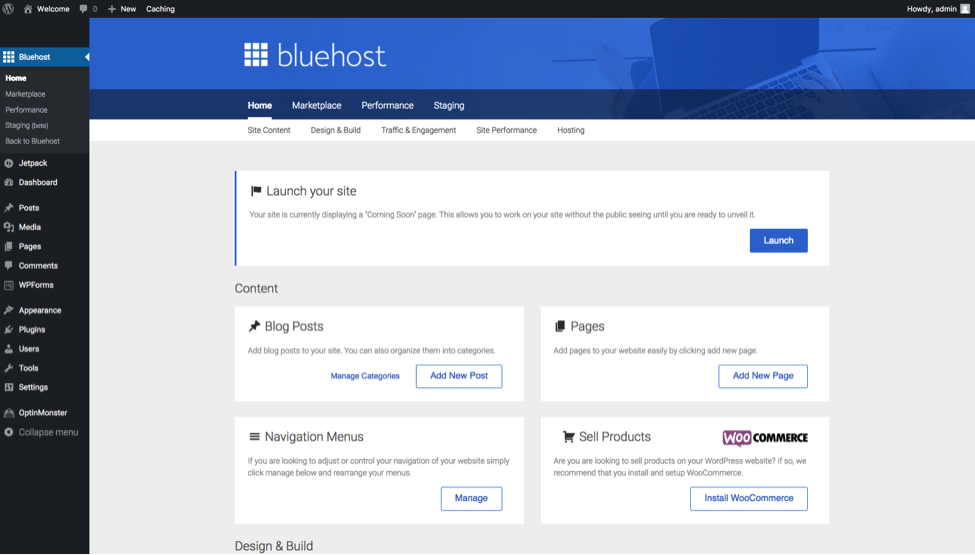
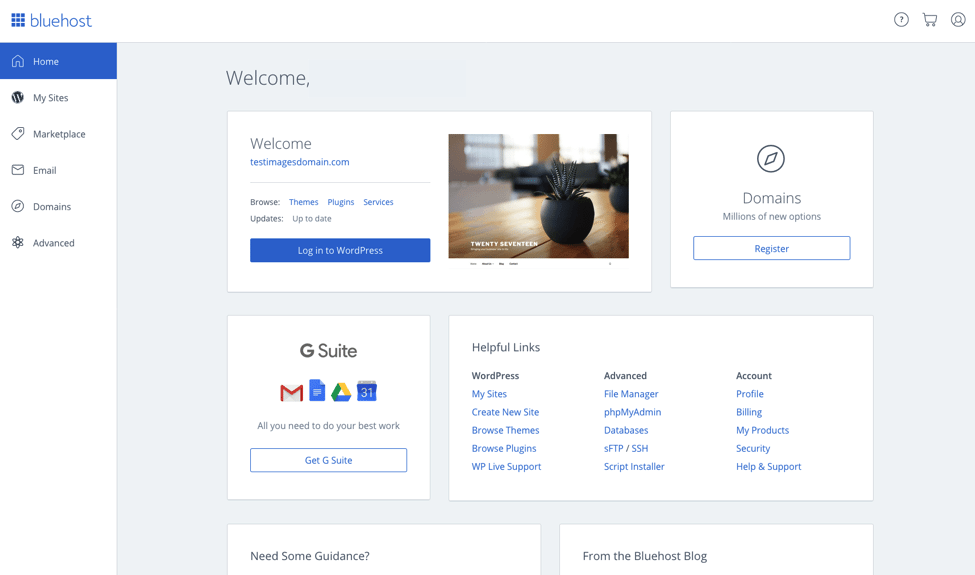
Now that you’ve picked your theme, let’s jump into WordPress and get you even closer to constructing that first blog post. On this step, you’ll see an overview of Bluehost+WordPress integration. You can manage WordPress plugins and blog posts or pages here.
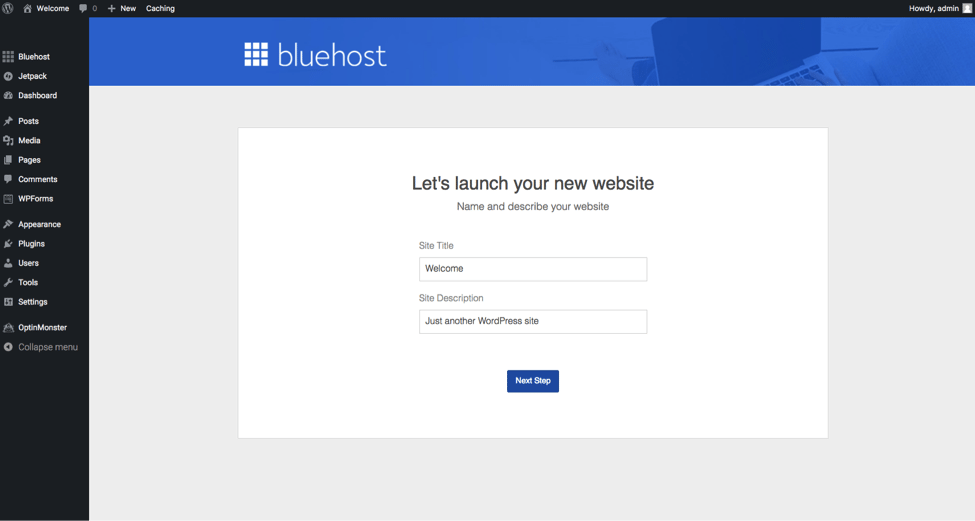
Decide on a site description and title here, and then launch your website!
You can make your site look exactly how you want. With WordPress, the sky’s the limit!
All that’s left to do is to start publishing. Once you’re posting regularly, don’t forget to share your posts on social media and to see what other sites are up to in order to make new friends and connections.
© 2026 Founding Moms LLC. All rights reserved.


